How To Test A Fluorescent Starter

Why My New Fluorescent Lamp Starter Does Not Work Youtube Fluorescent Tube Light Fluorescent Tube Tube Light
How To Test The Starter And Check Fluorescent Lamps Quora

How To Test A Fluorescent Ballast Youtube

Why My New Fluorescent Lamp Starter Does Not Work Youtube Vintage Ceiling Fans Fluorescent Lamp Fluorescent Tube

Connection Of Tube Light Tube Light Connection Fluorescent Tube Light
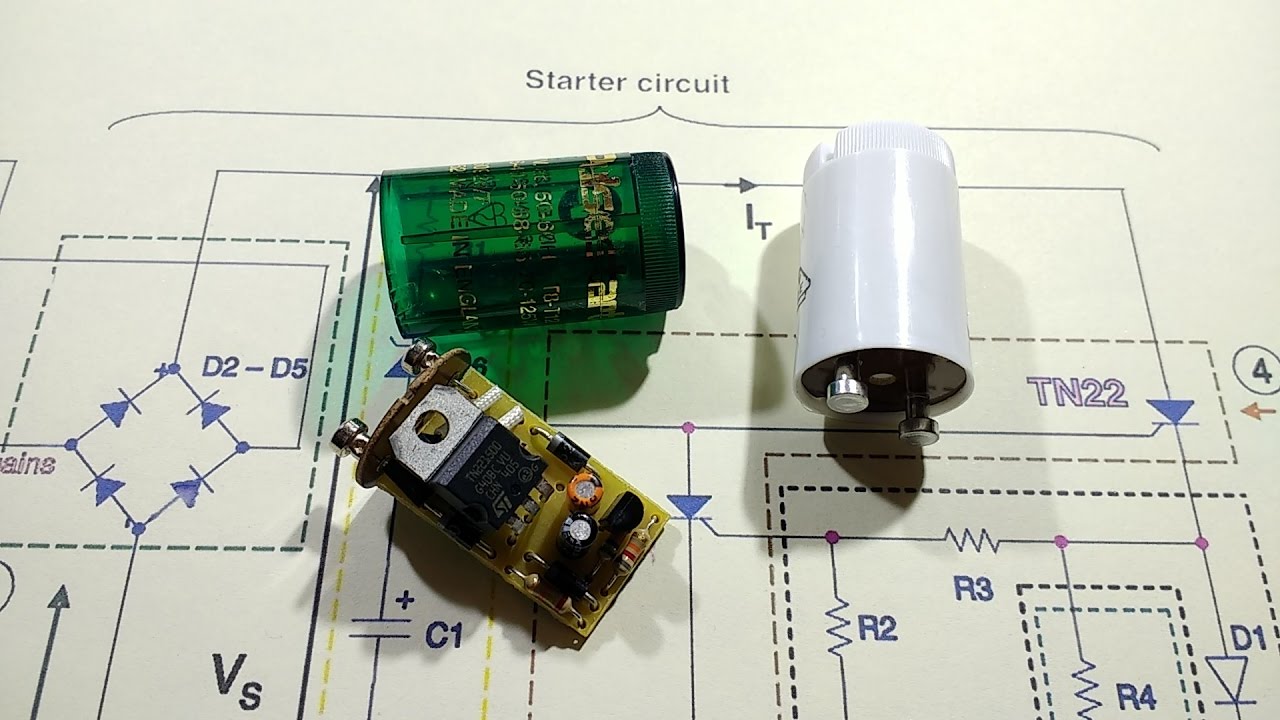
Reverse Engineering An Electronic Fluorescent Starter Youtube
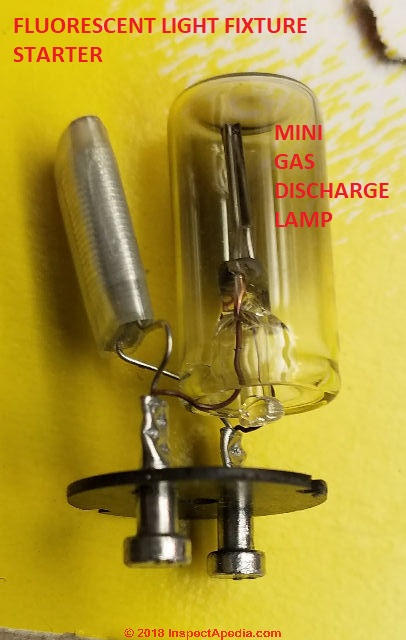
Simply put fluorescent starters are a timed switch.
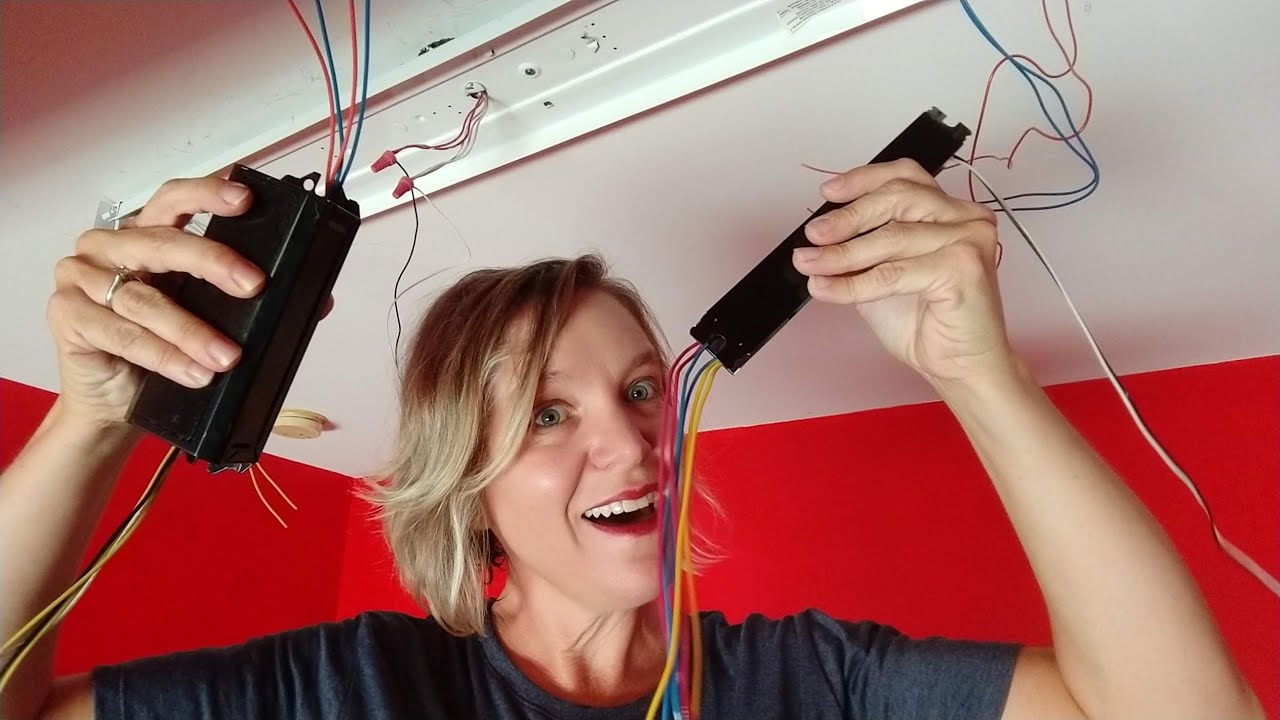
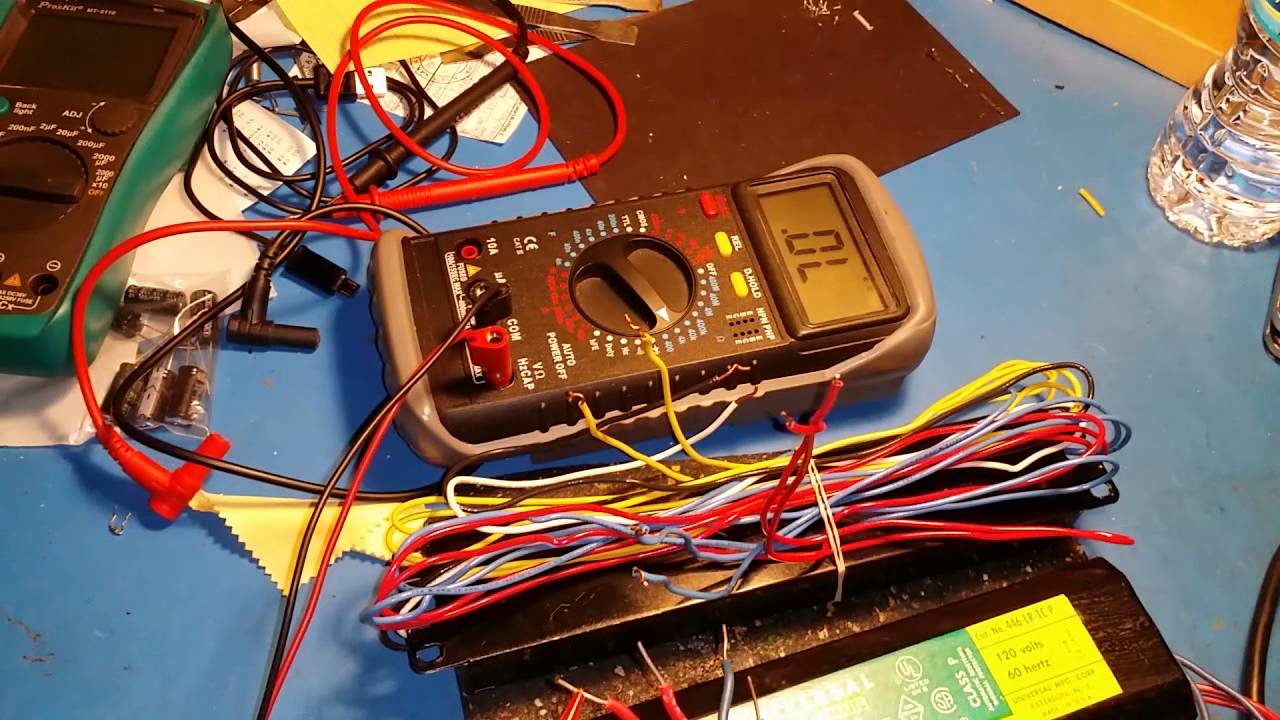
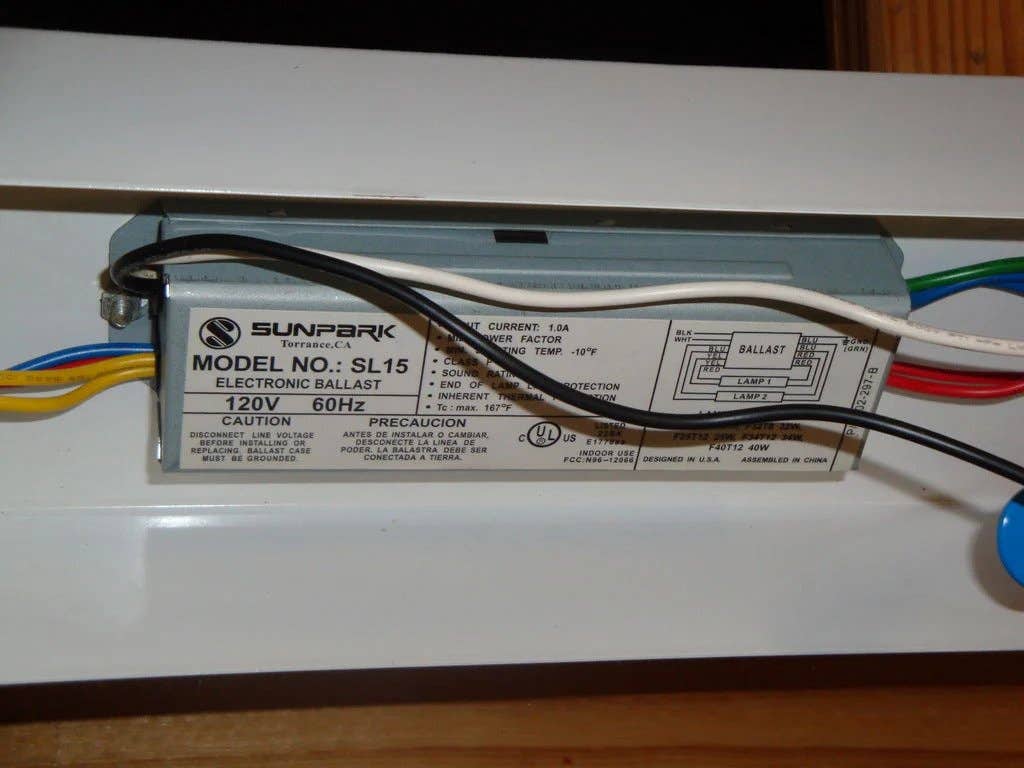
How to test a fluorescent starter. Next take the ballast cover from the fixture and replace the ballast if it appears leaking burned or swollen. Set a multimeter to the ohm Omega symbol setting then touch one tester probe to each of the pins at the end of the bulb. The current heats up the contact of the starter turning its switch on and off until the fluorescent tube lights up.
Use a multimeter and choose X1K if there are a variety of ohm settings. The fluorescent tube is okay if there is a voltage that should indicate. If you see infinity then set the multimeter to the highest reading and connect the capacitor.
Without switching on and off the ligh. The bulbs take more time to start Hissing noise at the starting time The lights are not turning On The views are blinking off and on The Ballast is burned and became black. Take your digital multimeter and set it to the smallest Ohms reading and connect the capacitor.
If the flow shows normal then you have a completely working starter. A dead fluorescent can be caused by lack of electrical power tripped breaker or blown fuse a dead or dying ballast a dead starter or a dead bulbs. When all else fails the ballast should be replaced.
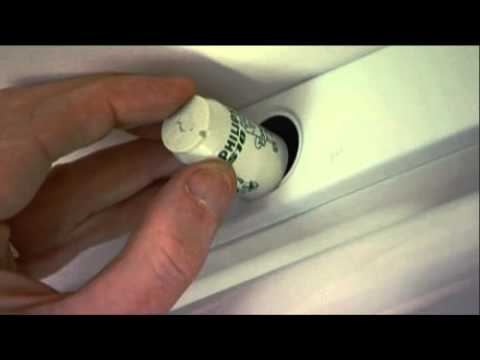
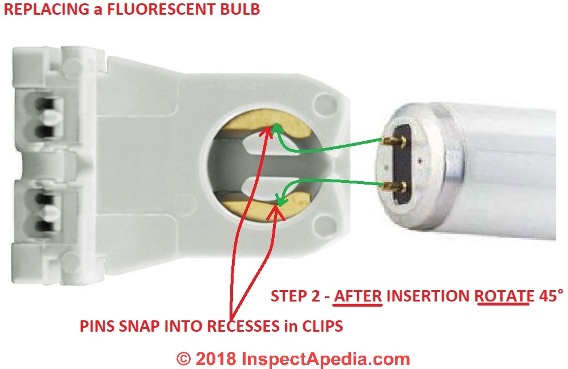
Starters correspond to the wattage of the fluorescent bulbs they run. If you see that the light has become dark it means the lifespan of the light is close to its end. Remove the old.
Check if any of the pins are missing or bent or not. Install new ballast if the current one is leaking oil. Check whether or not the fluorescent fixture contains a starter which is usually located in.
Tl Starters Electronic Measurements
Changing A Flourescent Tube And Starter Youtube
Fluorescent Light Troubleshooting And Repair Starter Bulb Or Ballast Youtube
Fluorescent Fixture Ballest Test Youtube

How To Make Solar Cells Solar Technology Solar Power System Solar Projects
Fluorescent Light Starter Replacement Fix Flickering Dim Humming Buzzing Or Dead Fluorescent Lights

Connection Of Tube Light Tube Light Fluorescent Tube Light Flourescent Light
Fluorescent Bulb Troubleshooting Diagnose Replace Fluorescent Light Bulbs Lamps Fix Flickering Dim Humming Buzzing Or Dead Fluorescent Lights

How To Repair Fluorescent Light Fixtures Fluorescent Light Fixture Fluorescent Light Light Fixtures
Insight How Tubelight Starter Works
Easy Fixes For Slow To Start Flickering Or Faulty Fluorescent Tubes

Repairing Fluorescent Tube Starter Fused Bimetal Strip Ifixit Repair Guide

Fix Your Fluorescent Light Ballast In 5 Minutes With Our Tips


